This is a user manual for the ProCal eView reporting application created by Prime Technologies.
This page includes the user manual’s Reporting section. Click to return to User Administration
Reporting
The main purpose of ProCal eView is to allow users to employ an external web-based application to schedule and generate ProCalV5 reports. Reports can be run ad-hoc and generated from within an internet browser, or they can be scheduled and delivered to a user-defined recipient list by creating Report Jobs.
Report List
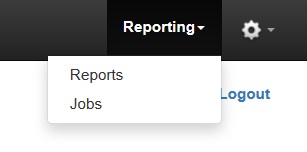
ProCal eView features several methods to generate and schedule reports or Report Jobs. To view a list of all available reports, use the navigation menu to select Reporting > Reports.
This will display a full list of reports that matches those that are available in the associated ProCalV5 database. From this list you can either create a new Report Job or generate reports on demand with Run Now.

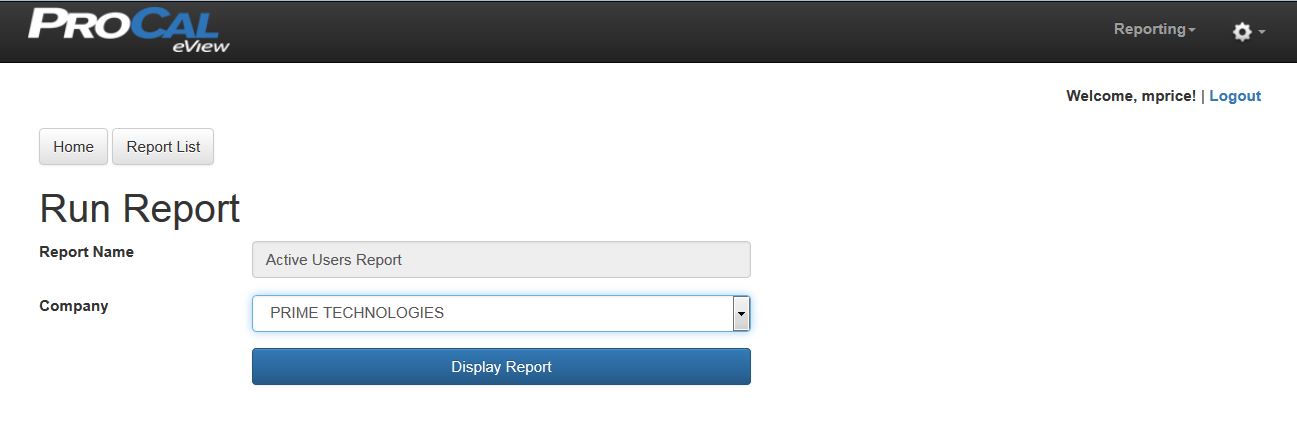
Run Now
Reports can be run in an ad hoc manner by using the Run Now button on the Reports List screen. Scheduled reports are managed by creating a new report job, however the same reports can be generated on demand.
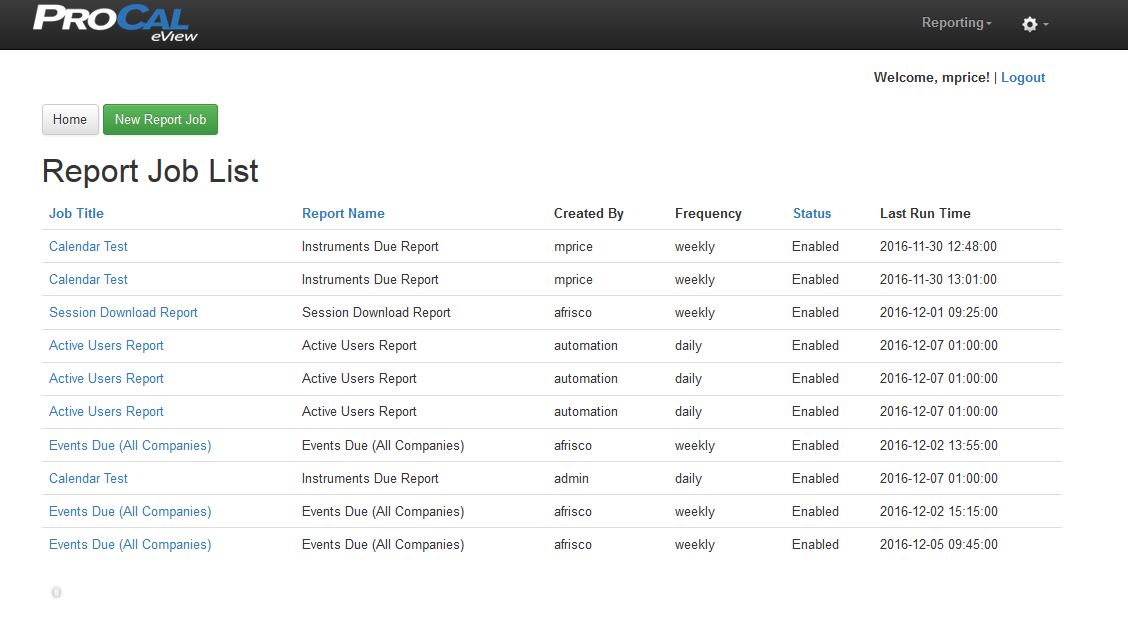
Report Job List
To view a list of all Report Jobs, select the Reporting menu and then the Jobs option to open the Report Job List screen. In this screen the user can view the all Report Jobs that have been created.
Separate column’s appear for Job Title, Report Name, Created By, Frequency, Status, and Last Run Time. Sortable columns contain blue headers.
Creating Report Jobs
While all available reports can be instantly generated by using ProCal eView’s Run Now option, they can also be scheduled to run on intervals of the user’s choosing. The report’s parameters are also saved on the Report Job so the same report can be generated automatically without direct user intervention.
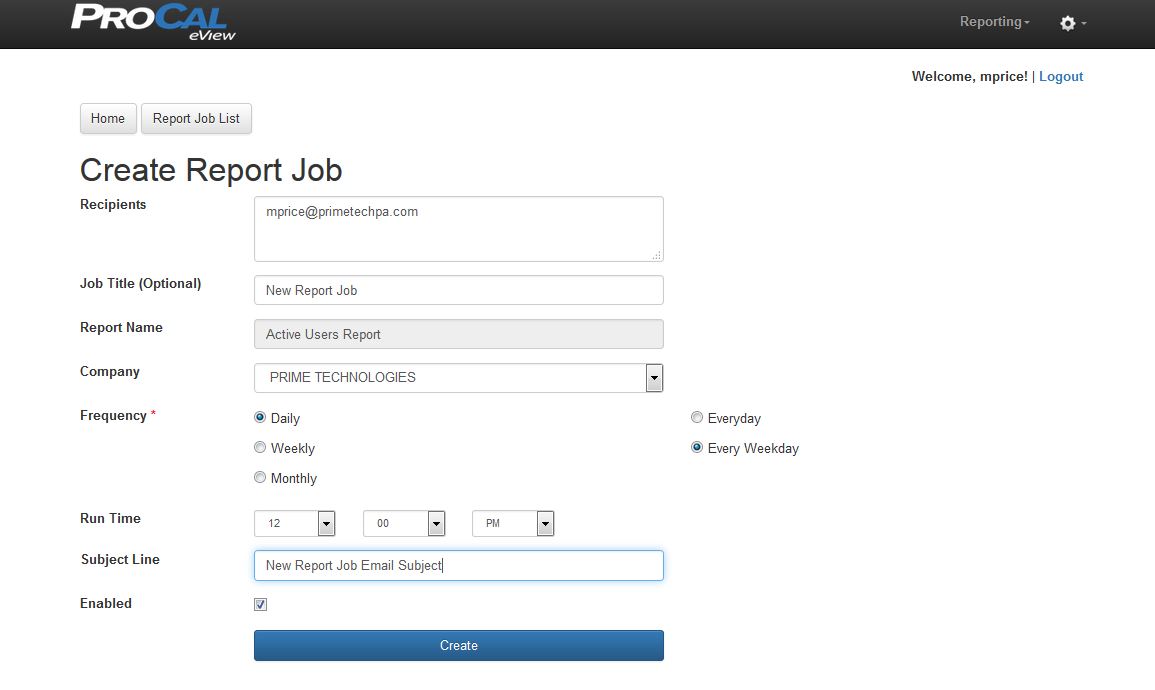
There are two methods to initiate the creation of a Report Job. The first way is by selecting the Create Job button next to the desired report in the Report List screen. The second is to select the New Report Job button while viewing the Report Jobs screen.
Report Job Fields
Recipients - enter the email addresses of anyone who should receive the emailed report. Multiple email addresses can be included by placing a semicolon, comma, or space between email addresses.
Job Title - description of this report job.
Report Name - selected ProCalV5 report you wish to schedule for generation.
Company - the ProCalV5 Company the report is running against.
Frequency - select frequency options to determine the schedule that the Report Job should run on. Choices include Daily, Weekly, Monthly, with additional configuration options for each.
Run Time - when the job is scheduled to execute.
Subject Line - An optional subject line for email; otherwise the report name.
Enabled - the Enabled checkbox determines whether the Report Job is active and should run.
Parameters
Parameters are the values that determine what data will be returned for a given report. Different reports may contain different parameter types. A common example of a parameter is the date parameter, which is commonly used to generate date ranges, event dates, etc.
There are two ways to enter values for a date parameter. The first is Constant Values, meaning the user will choose a specific date (either by typing the date or by choosing it from the calendar widget). The other is referred to as an Automatic Value, which includes options like Beginning of Month, End of Month, Beginning of Week, End of Week, etc. When using Automatic Values, the user can also put a plus/minus number of days value as well.
Support
| For additional product support, contact Prime Technologies by emailing techsupport@primetechpa.com |